If you already have a domain and want to get your own hosting plan through HostGator, no problem! This page is for you! Most of the process is similar to the way we’d do it if you didn’t have a domain, but there are some differences.
So, to get your hosting plan, click right here to head over to HostGator.
I am a HostGator affiliate and get a commission when you use my links to save an extra 60% off your plan.
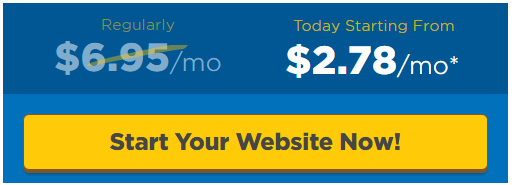
When you use the exclusive links on this post, plans start at under $5/month $3/month!
Note – I have an exclusive 30% off code 60% deal for HostGator plans. Normal affiliates get a 25% off code to offer their readers, but I asked for more and you get to reap the benefits!
Choose a plan and you’ll be at this screen:
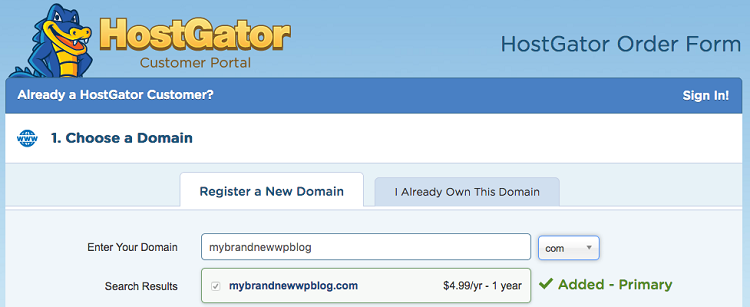
Instead of entering your domain to see if it’s available, here you’ll click the tab that says “I already have my own domain” and you’ll enter that domain in the box that pops up.
You will then be given the option to add the .net and .org versions of your domain. I generally do not do this and only buy the .com domain.
Scroll down a bit to see this screen:
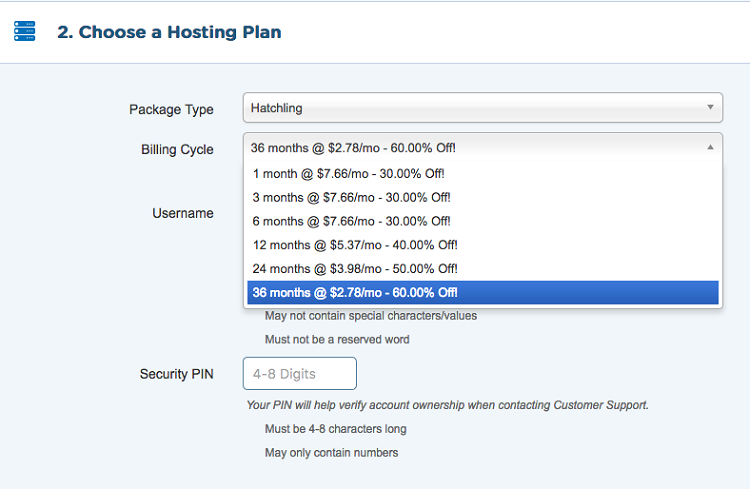
Confirm your hosting package and billing cycle length and then create an account username and password.
Scroll down and enter your billing info. Their site is 100% secure.
Note: if at any point during this process you get stuck, feel free to contact me (info at the bottom of post) or jump on the phone and call HostGator at 1-866-96-GATOR or click the “live chat” button in the top right portion of their page and they’ll be happy to help you out.
Scroll down a bit more for some extra options. You don’t NEED any of these, as they can all be achieved outside of HostGator. For example, there are plugins to back up your blog and to improve security. Basically, I’d take note as to what these add-ons do and look for ways to do them yourself. It’s cheaper and more effective.
If you used any of the links in this post, the next section will have code KDW60 already entered to get your 60% discount!
Underneath of that, you’ll be able to review your order. It will look something like this:
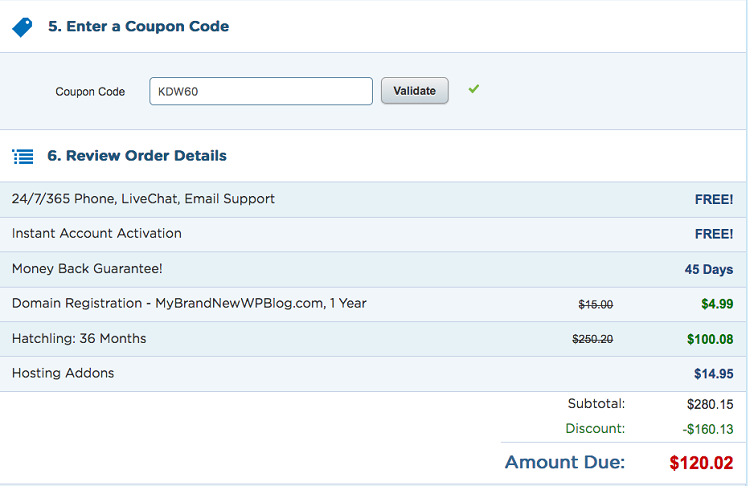 Check the box that you agree to their terms, move forward and complete your payment.
You will receive an email with all of your account details, but you can just continue on the screen and you’ll be able to access your HostGator account within a few minutes.
You will have to answer some basic questions and you’ll come to a screen like this:
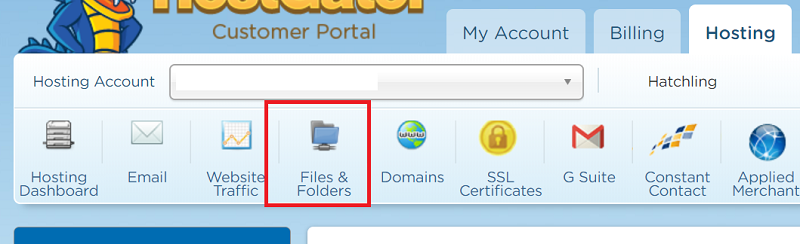
Click “open in file manager” to get to the next screen.
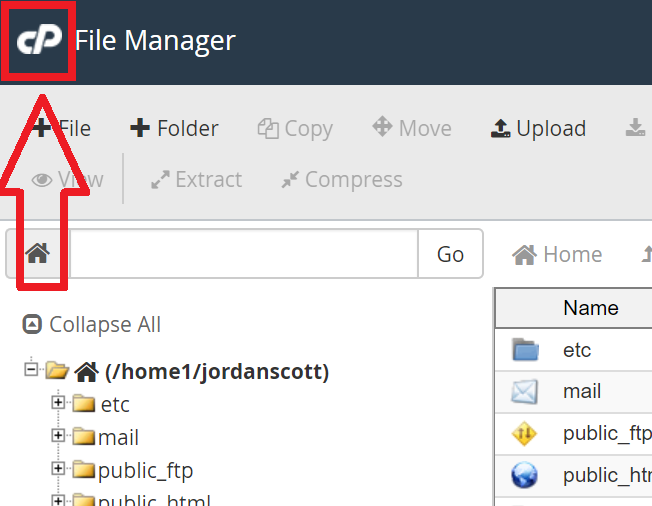
Then, click the “CP” logo at top left of that screen.
Now, you’re in your cPanel. Scroll down and look to the right for this:
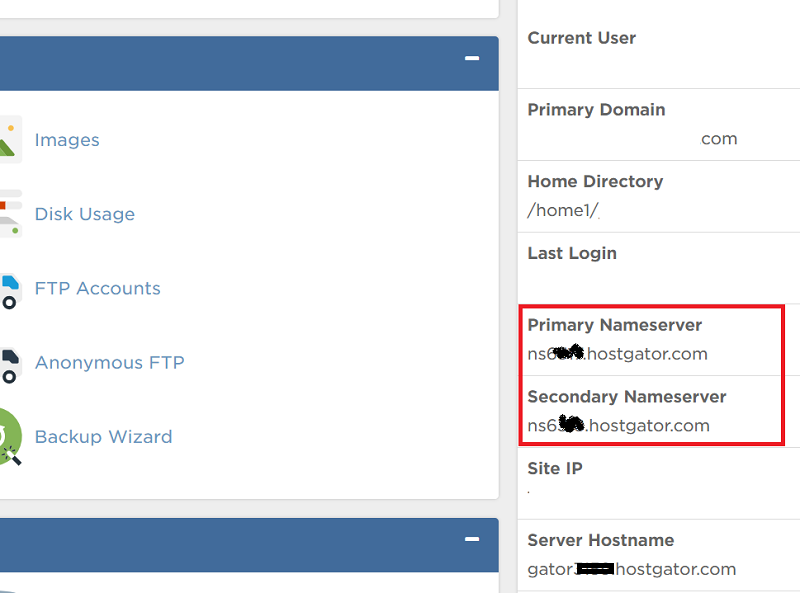
You’ll need those Nameserver numbers.
Head to your domain registrar (here, we’ll assume it’s GoDaddy) and log in.
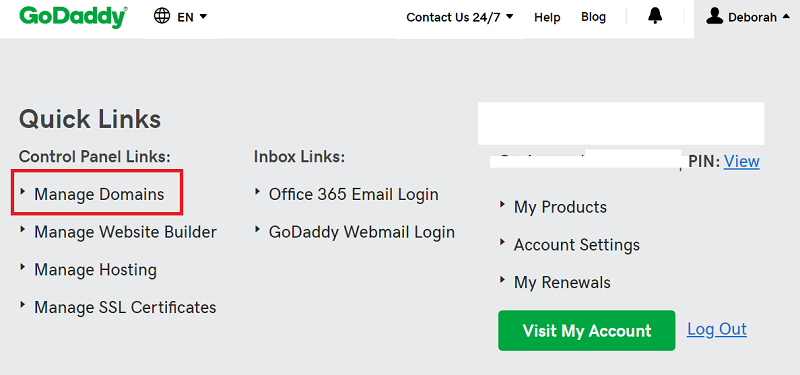
Click in the upper right and click Manage Domains.
Next, click on your domain name to get to this screen:
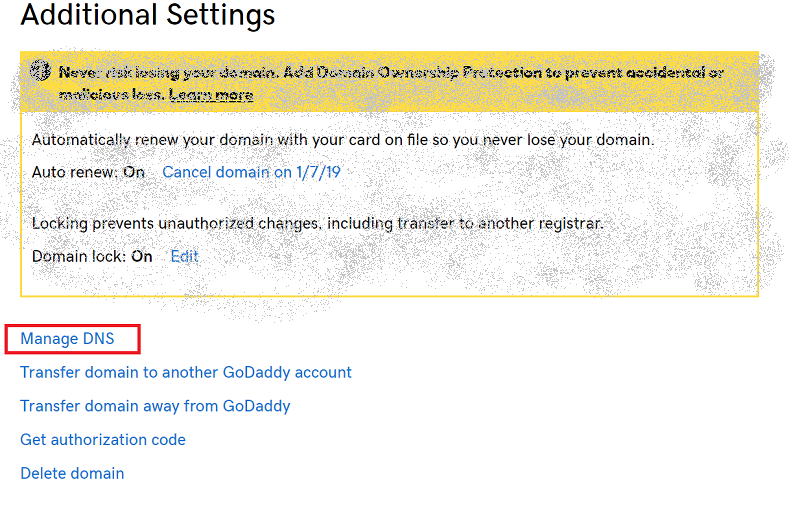
Scroll down and ignore everything until you see “Manage DNS” as pictured.
Click that and you’ll see this screen:
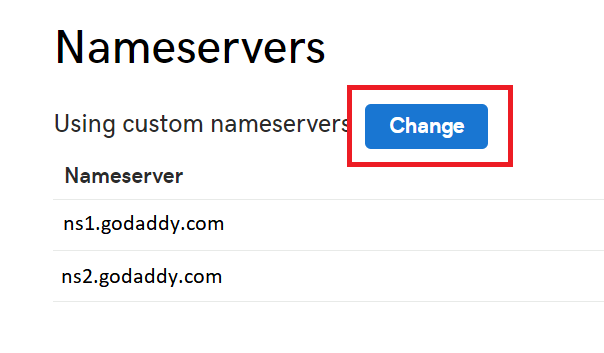
Click “change” and enter the nameserver information that you found in your HostGator cPanel.
Like this:

Keep the namesever type as “custom”, enter both nameservers in the appropriate boxes and click save.
Within an hours usually, but in up to 24 hours, your domain will point to HostGator servers and you can begin your WordPress installation!
Once the transfer is complete, head back to your cPanel and follow these instructions:
This is the “back end” of your site and where all of the key technical matters will take place. It will look like this:
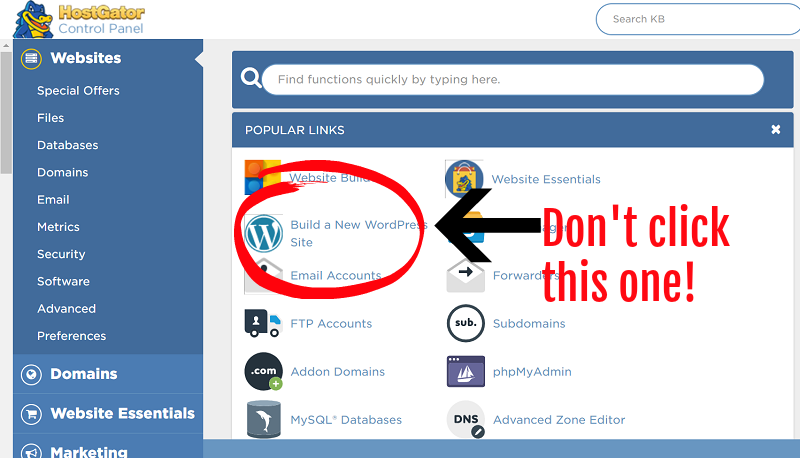
DON’T click the Build a New WordPress Site icon! We’re going to Install WordPress from a different location.
In the cpanel, you’ll see a LOT of icons. Ignore them all for now. You don’t want to spend a lot of time here unless you really know what you are doing. What we will do here is install WordPress. With HostGator, it is actually very easy to install WordPress on a domain. In your cPanel, scroll down and look for a “Software/Services” section. It’ll look like this:
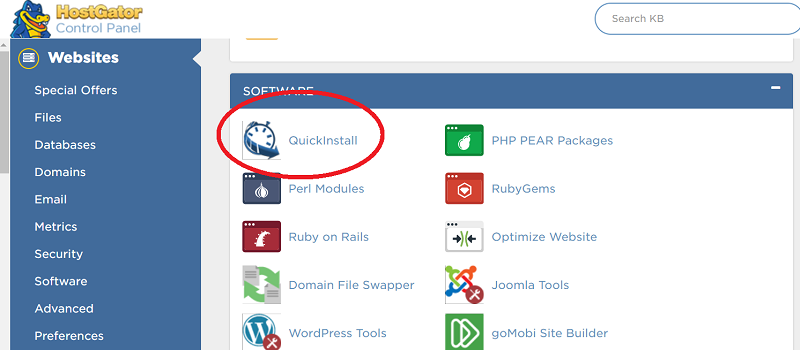
Click QuickInstall to move forward.
Then choose WordPress:
Choose your domain from the dropdown and leave the directory box blank:
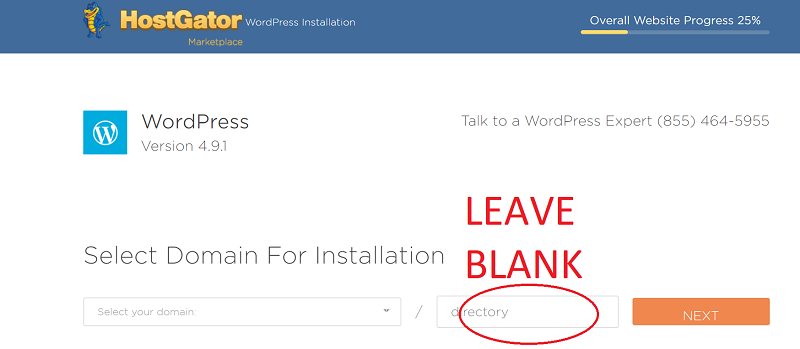
Next, you’ll be at the WordPress install screen.
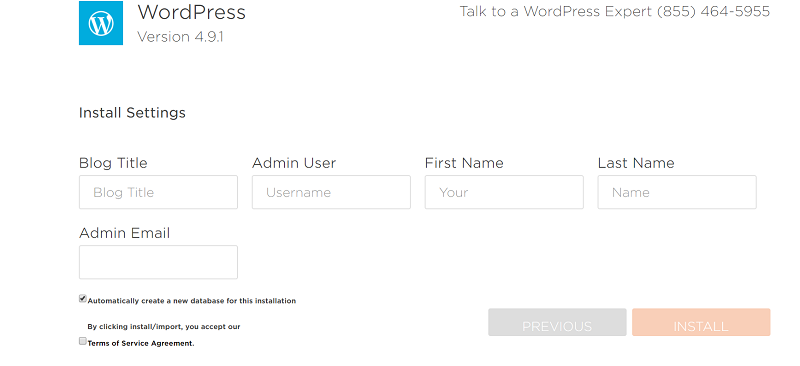
Fill out the boxes on that next screen and click install. This will take a few minutes. You’ll be emailed your login info and a link to your WordPress dashboard login screen.
Copy your generated password and click the “login” button to log in to your new WordPress dashboard using the username from the previous page.
Note: While most blogs will be able to be accessed right away, this process could take up to 48 hours. A very few amount of blogs will have to wait up to 48 hours, due to their location in comparison to the HostGator data servers. Feel free to use the HostGator chat support found right on their site to ask them for updates on this process.
This is what your WordPress dashboard will look like:
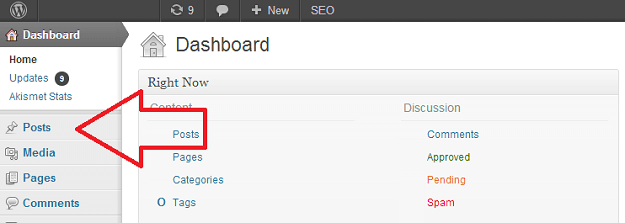
That’s it! You’re in! For additional steps, go back to this page and jump down to step 6.